
How to Edit Videos Faster in Premiere Pro in 2026
Practical Premiere Pro editing tips for getting from raw footage to a clean first draft faster with transcripts, proxies, shortcuts, native AI, and Creator Mode.

How to Edit Videos Faster in Premiere Pro in 2026
AI-assisted workflows inside Premiere ProMost editing time disappears before the fun part: waiting on heavy footage, finding takes, cutting dead air, cleaning repeated lines, and rebuilding the same captions. A faster edit starts by fixing those jobs in the right order.
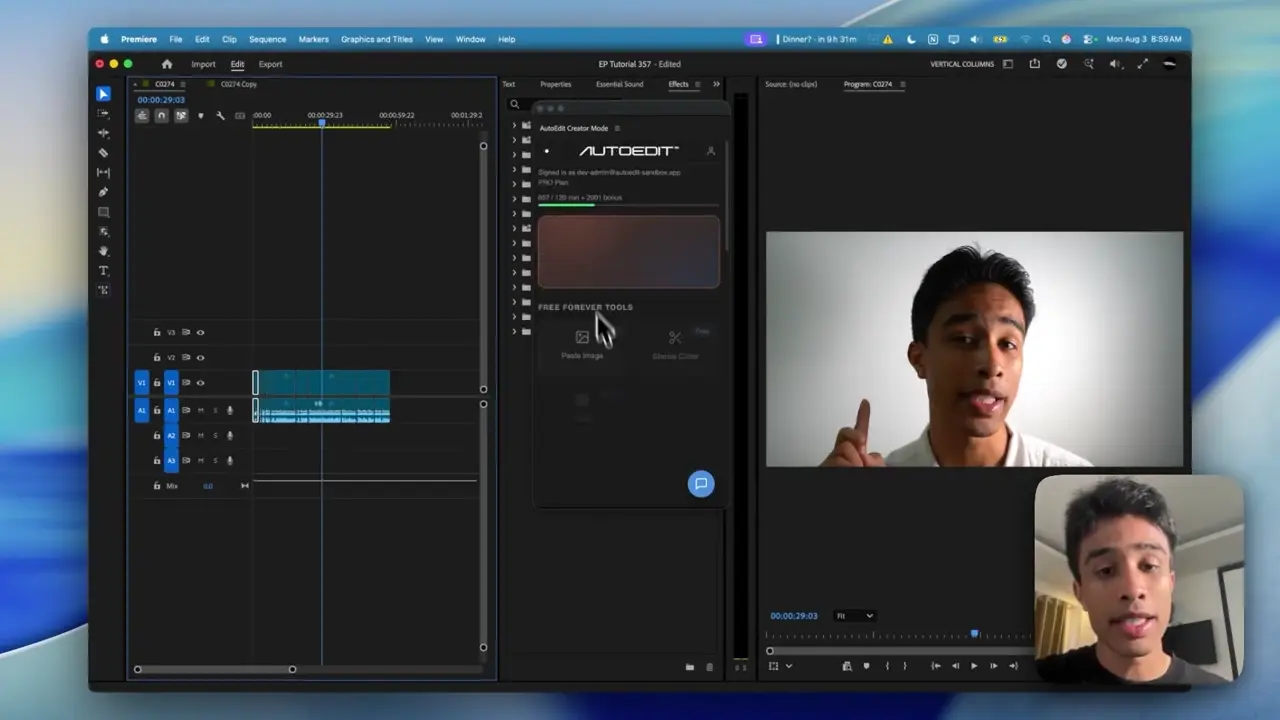
Premiere Pro already includes useful tools for transcripts, footage search, reframing, and proxies. Creator Mode goes further on spoken footage by bringing Claude into Premiere to help build the first dialogue cut.
October 2026 update: AutoEdit’s Fast B-roll Library now keeps your own frequently reused MOV, MP4, MP3, and WAV files inside the Premiere Pro plugin. It is a retrieval shortcut for saved assets, not automatic story-aware B-roll selection.
Quick Answer
The fastest way to edit in Premiere Pro is to stop doing every first-pass job by hand. Use proxies for heavy footage, transcripts to cut dialogue, shortcuts for repeated actions, and AI for the first rough cut. AutoEdit Creator Mode can remove weak takes, repeats, filler words, and silence while leaving you an editable timeline.
What actually makes a Premiere Pro edit faster?
- Create proxies before heavy 4K or 8K footage slows playback.
- Name bins and sequences so you can find media without hunting.
- Use transcript editing for dialogue-heavy footage.
- Map shortcuts for cuts, trims, ripple deletes, and track targeting.
- Automate the first rough draft, then make the creative calls yourself.
Which built-in Premiere Pro tools save time?
Text-Based Editing lets you work from spoken words and remove selected pauses or filler words. Media Intelligence helps find footage through visual and text search. Auto Reframe helps create versions for different aspect ratios, while proxies make large source files easier to play and cut.
Where does AutoEdit Creator Mode help?
Claude is the handyman and Premiere Pro is the toolbox. Creator Mode lets Claude read the transcript, find restarts, repeated lines, bad takes, filler words, and dead air, then put the approved changes on a normal Premiere timeline.
That is most useful for YouTube videos, tutorials, interviews, talking-head clips, and podcasts. You still choose the performance, pacing, B-roll, graphics, music, sound, and color.
A faster order of operations for talking-head edits
1. Organize and sync
Sort the raw footage, label audio and cameras, and synchronize the clips before making structural cuts.
2. Make playback responsive
Create proxies when the source files stutter or make scrubbing slow.
3. Build the dialogue cut
Use the transcript and Creator Mode to remove obvious dead air, restarts, repeats, and weak takes.
4. Add the visual layer
Place B-roll, punch-ins, graphics, captions, and screen recordings after the spoken structure works.
5. Finish and watch
Mix sound, color the footage, check every automatic cut, and watch the full export once.
How should YouTube editors use these tools?
For Premiere Pro YouTube edits, lock the promise and main teaching points before adding visual decoration. Remove repeated explanations, keep the strongest take, then use B-roll or graphics only where they help the viewer understand or reset attention.
What changes for podcasts?
Podcast editors should clean and sync every speaker first. Then remove unwanted silence, map each speaker and camera, run the camera-switching pass, and watch for interruptions or reaction shots that need a manual choice. Creator Mode supports as many as three cameras.
How do you know whether an AI tool is saving time?
Test five minutes from a real project on a duplicate sequence. Count the time to create the rough draft and the time to fix it. A fast-looking button is not useful if the result leaves more cleanup than your normal edit.
Tips
- Build the dialogue cut before adding decoration.
- Use a duplicate sequence for every automatic pass.
- Measure correction time, not only generation time.
Common mistakes
- Adding captions and graphics before the spoken cut is stable.
- Using full-resolution media when proxies would make editing responsive.
- Accepting every automatic cut without watching the result.
Try the workflow
Free tools for this article
Use the most relevant free tool for the task, then continue with the rest of your edit.
Video walkthrough
How to Use Claude AI to Automatically Edit in Premiere Pro
The Free Premiere Pro Plugin Every Video Editor Needs
Continue in Premiere Pro
Explore AutoEdit Creator Mode
Build an editable starting point, then keep creative control of the timeline.
Explore AutoEdit Creator ModeFrequently asked questions
How can I edit videos faster in Premiere Pro?
Use proxies, transcript editing, keyboard shortcuts, organized bins, and a rough-cut tool such as AutoEdit Creator Mode for spoken footage.
Can Premiere Pro remove filler words and pauses?
Yes. Premiere Pro Text-Based Editing can detect and remove selected filler words and pauses. Creator Mode can also reason about repeated and weak takes across the transcript.
What is the fastest way to edit a talking-head video?
Finish the dialogue cut first: remove dead air, restarts, repeats, and weak takes. Add B-roll, captions, graphics, sound, and color afterward.
Does AI finish the whole edit?
No. AI can build a useful first draft, but the editor still owns performance, story, pace, visuals, sound, color, and delivery.
Is AutoEdit inside Premiere Pro?
Yes. AutoEdit is a Premiere Pro plugin, so its rough-cut tools work with an editable Premiere sequence.
Sources and verification
External product claims were checked against these first-party sources.
AutoEdit Content Creator Mode covers the Claude-powered rough-cut tools described in this guide.
Free AutoEdit Plugin Tools lists the current free utilities available for Premiere Pro editors.
Free Online Content Creator Tools provides browser tools for common creator editing tasks.
Adobe Text-Based Editing documents the native transcript, pause, and filler-word controls referenced above.
AutoEdit organic search research is the supporting AutoEdit article library for the related Premiere Pro topics.